If you only have a few new students you need to add or move, you may instead want to update your classes manually. For instructions on updating your classes manually, click here.
Note: It is important to ensure that the names in your spreadsheet exactly match the names already in the system for any existing students. Otherwise, the system will take these as separate user accounts and create a duplicate account for the student.
You can generate a spreadsheet of the students already on Sumdog by going into the Student Logins box on your dashboard and clicking 'Export Spreadsheet'. Click here for full instructions.
Prepare your spreadsheet for upload
- The spreadsheet must include at least four columns:
- Column A: Student's first name
- Column B: Student's last name
- Column C: Student's grade/year level
- Column D: Name of the class the student should be placed in
Here is an example of a spreadsheet with the minimum amount of information required: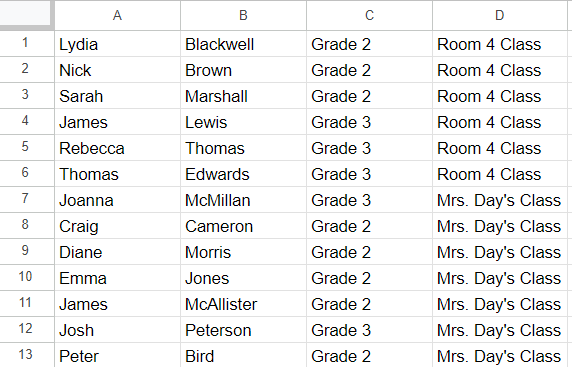
- In addition to the information above, you can include additional columns to modify your students' login details or to create custom usernames and passwords. Follow the same structure as for columns A-D, but add the optional columns:
- Column E: Student's username
- Column F: Student's password
Important tips:
- Do not include any headings in the spreadsheet. Ensure that the first row of the spreadsheet contains student data you wish to upload.
- Make sure the names on the spreadsheet match the names on Sumdog. The system will only match a student listed on the spreadsheet to their existing Sumdog account if the names match exactly.
How to create, rearrange, and/or edit classes using your spreadsheet
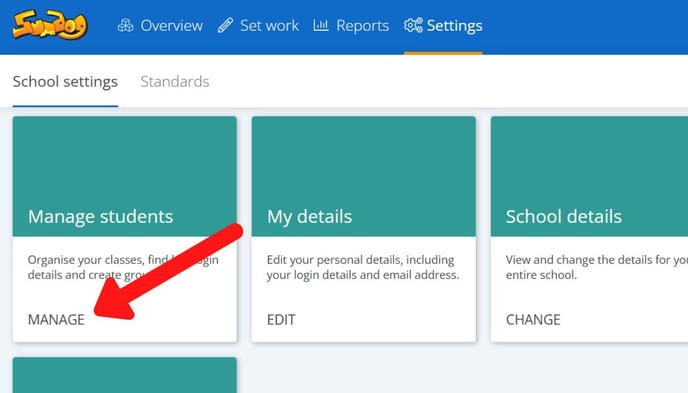
- Go into Settings from your dashboard
- Click 'manage' in the Manage Students box
- Click 'upload student details' near the top right of the page

- You can either paste the date ('paste students') or upload a spreadsheet ('import students'). If you select 'paste students', you will need to paste the data from the spreadsheet into the box. The remaining steps will be same as if you were uploading the spreadsheet. If you select 'import students', you will need to select a file to upload from your computer.

- After pasting or selecting your spreadsheet, you need to confirm what you would like to do with the data. To create or rearrange classes, choose the second option. To change student login details and create or rearrange classes, choose the third option. Click 'next'
- If there are students in your school who have never signed in and whose accounts were created over six months ago, the next page will ask if you wish to remove those accounts. If you are uncertain, click 'No, do not delete any students'. Click 'next'
- On this page, you will be asked to confirm the data in each column. Click on the dropdown menu at the top of each column to confirm which date type is shown in each field. Click 'next'

- You will now be shown a preview of the upload so you can see which accounts will be created and which accounts will be changed. If everything looks correct, click 'save students'
- The final page will show you a summary of how many accounts have been created and how many existing students were moved to a new class. Click 'done'.
Tip: If your spreadsheet has a large number of students/classes, we recommend uploading only a few classes at a time